Elevators & Escalators
Elevators & Escalators was around my tenth map, and is by far the most popular of my maps. The general idea was to make a fun no-jumping map with multiple layers. The green and purple bases are on opposite sides of the map, protected by an outer wall; tanks must drop into the bases from an above level. The main methods for going up levels are escalators, elevators, stairs and the wings bouncers. There are few of the non-powerful flags on the map, very fast tanks and shots, 4-shots, and ricochet.
The escalators are sloped faces with a moving texture, with a physics driver that bumps the tank upward and inward. So the tanks are really just repeatedly making tiny hops up the escalators. Because of this, the tank must remain still when going upward, or it will get stuck on the escalator, which is the main problem that most new players to this map encounter. Unfortunately, there is no real way to fix this problem.

There are also two elevators in the opposite corners of the map. These elevators were fairly complicated to set up -- the tank drives forward onto a bouncer, which bounces it upward and backward. The tank hits the walls of the elevator, and slides upward until it hits an invisible ceiling on the next level. This allows the tank to easily go to any level -- if they want to go upward, they drive onto the bouncer which bounces them around the invisible ceiling, but if they want to leave, they can leave through the opening on each level. The elevators can take the tank all the way from the bottom level to the top level. This is described in the diagram to the right -- it is a side view of an elevator. The elevator exits are on the left side, boxes are black, bouncers are yellow, one-way jump-through ceilings are gray, and the path of the tank is light blue.
The next method of upward-transportation, the stairs, work by using the variable _maxBumpHeight. This variable allows tanks to bump up short boxes, so I compiled many small boxes into a spiral staircase in the center of the map that links the second and third levels. There are also two wings-bouncers in the corners opposite the elevators. Next to each of these there are many wings flags. The wings flags have zero jumps because this is a no-jumping map, but, if you drive onto the bouncer, the wings let you fly to almost anywhere on the map. They also have the advantage of moving in midair and falling with low gravity.
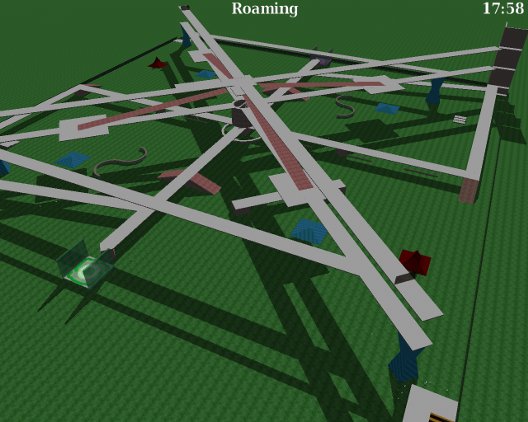
There are several good team flag hiding spaces in this map. Firstly, the base is probably the best place to hide your team flag. Then there's a small, low to the ground walkway (located in the center of the screenshot). This is a good spot because it's easy to hide it there -- you just drop it underneath, and it falls on top of the walkway. Also, at the very top of the map, there are two teleporters that lead to a teleporter inside the center pillar on the ground. This area has several useful flags, such as the jumping flag. You can also hide your team flag here, if you like.
This is my favorite map that I've created, and, in my opinion, it is very fun, especially with lots of players. Hosted at bzbattleground.com:9100